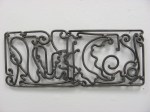
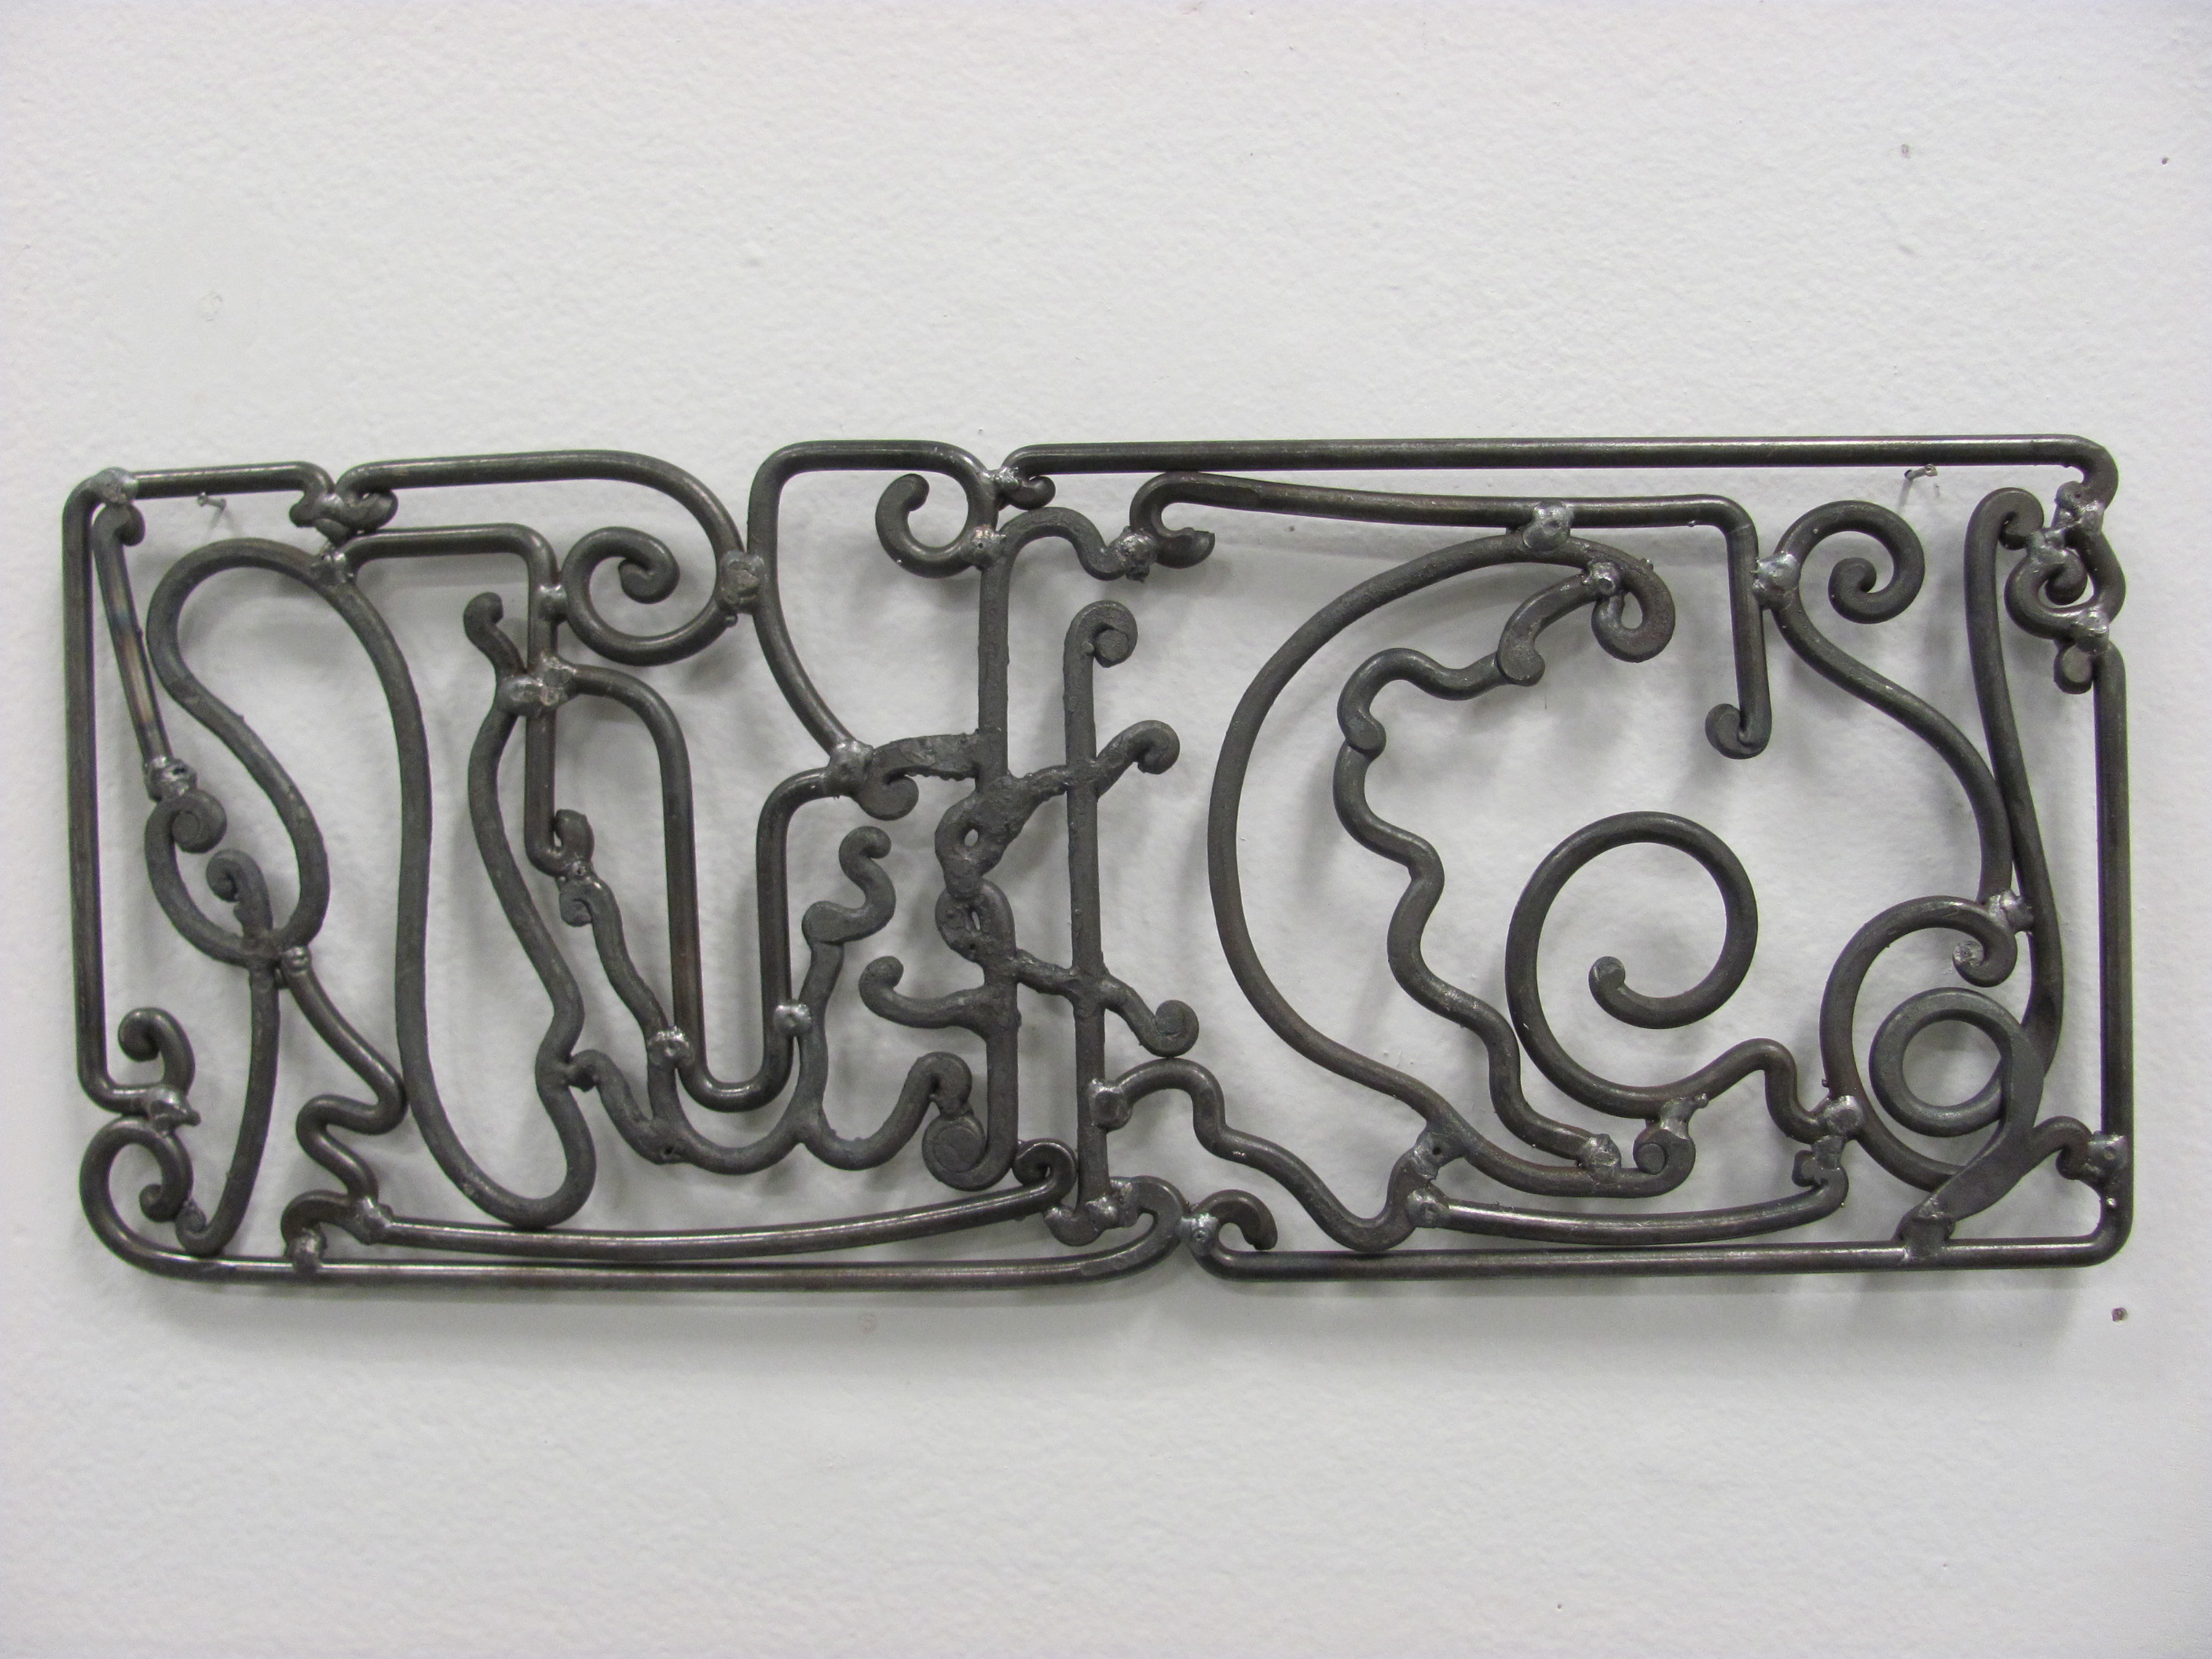
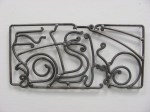
Here are some in progress images of two new forged steel text pieces. These works draw upon my knowledge of forging techniques to explore slang terminology, folk etymologies, and other forms of truncated language.
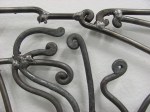
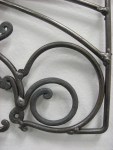
These sculptures began as elements of the steel matrix I used to make a series of branded woodblock prints and grew into two distinct forged steel panels. Now that these pieces are roughed out, I am going to spend time cleaning them up and figuring out how they are going to be displayed.
After a long hiatus from printmaking, I was really missing this medium, so I decided to make prints that brought together my knowledge of forging techniques with my interests in slang terminology, folk etymologies, and other forms of truncated language.
The Branded Woodblock Prints began by forging, twisting, and manipulating steel round stock to create lines of text. Then the steel text was heated in a forge and branded into a wooden plate. Next, the plate was cleaned with a wire brush to remove ash residue. Finally, these works were inked up and printed by hand.
This work spawned many new ideas I want to explore further, so I am excited to see where this series takes me. Big thanks to my friend and colleague Joseph Lupo, coordinator of the printmaking program at West Virginia University, for his assistance in creating this work.
Using a wire brush to remove ash and clean the plate
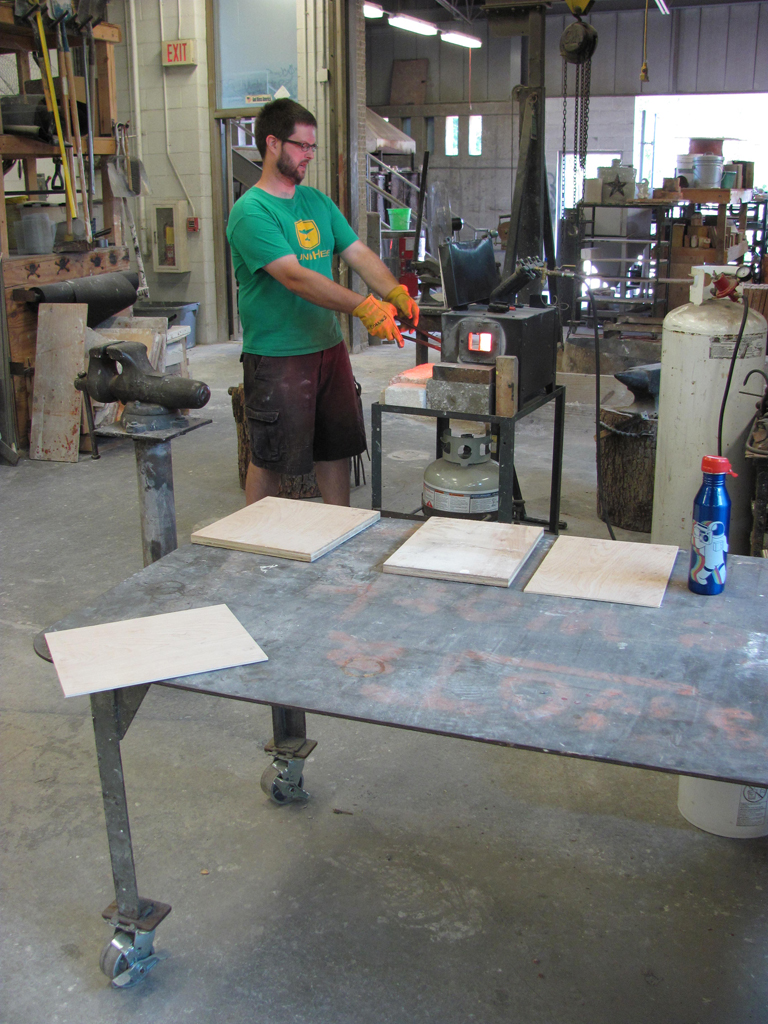
Lining up the second round of text for branding
Burning into the wooden plate to make a deep and unique impression
Branding the wooden plate
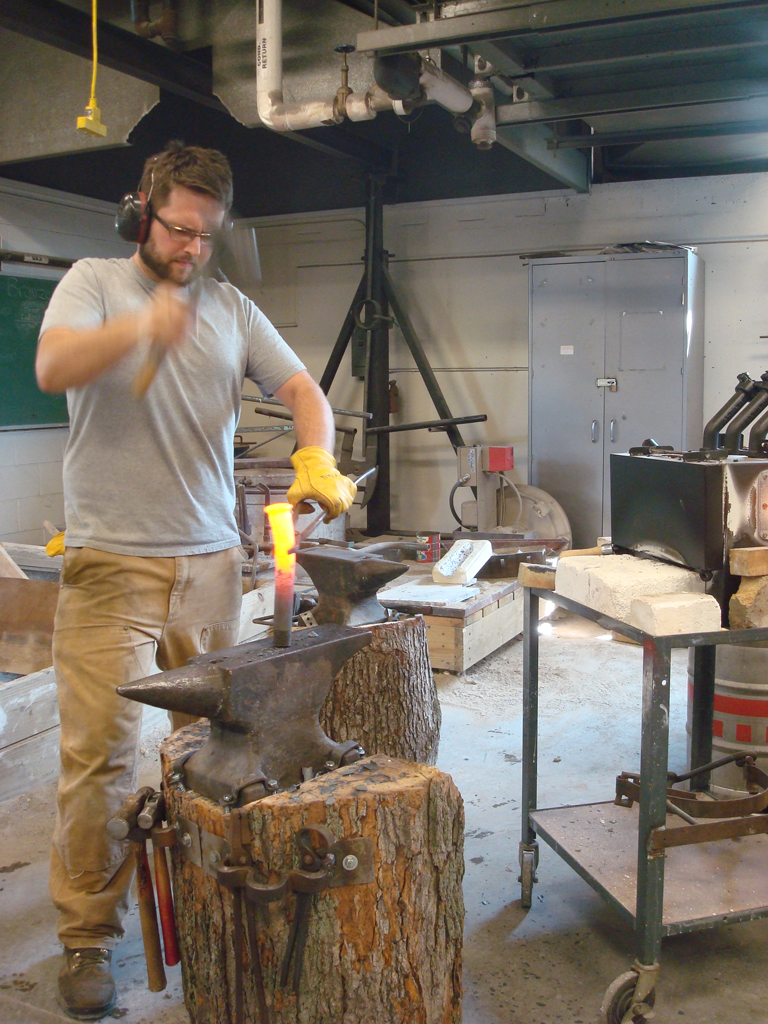
Pulling red-hot steel from the forge
Heating steel in the forge
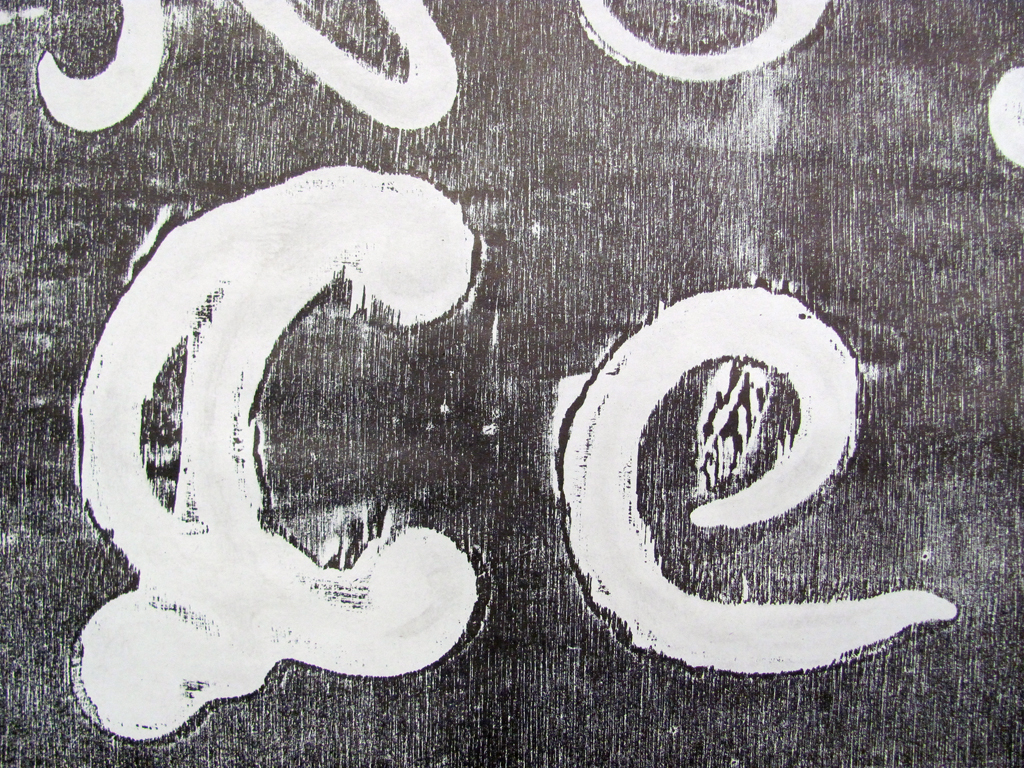
‘Nuff Ced (Enough Said), detail
‘Nuff Ced (Enough Said), relief print, 2011
Sho ‘Nuff (Sure Enough), two color relief print, 2011
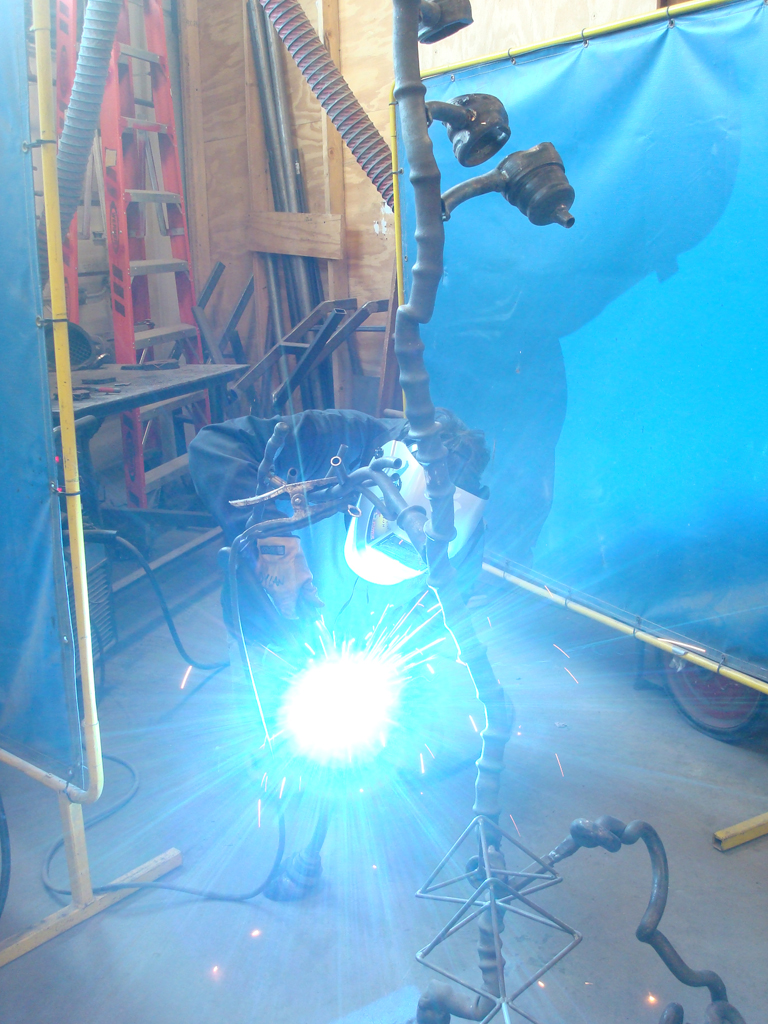
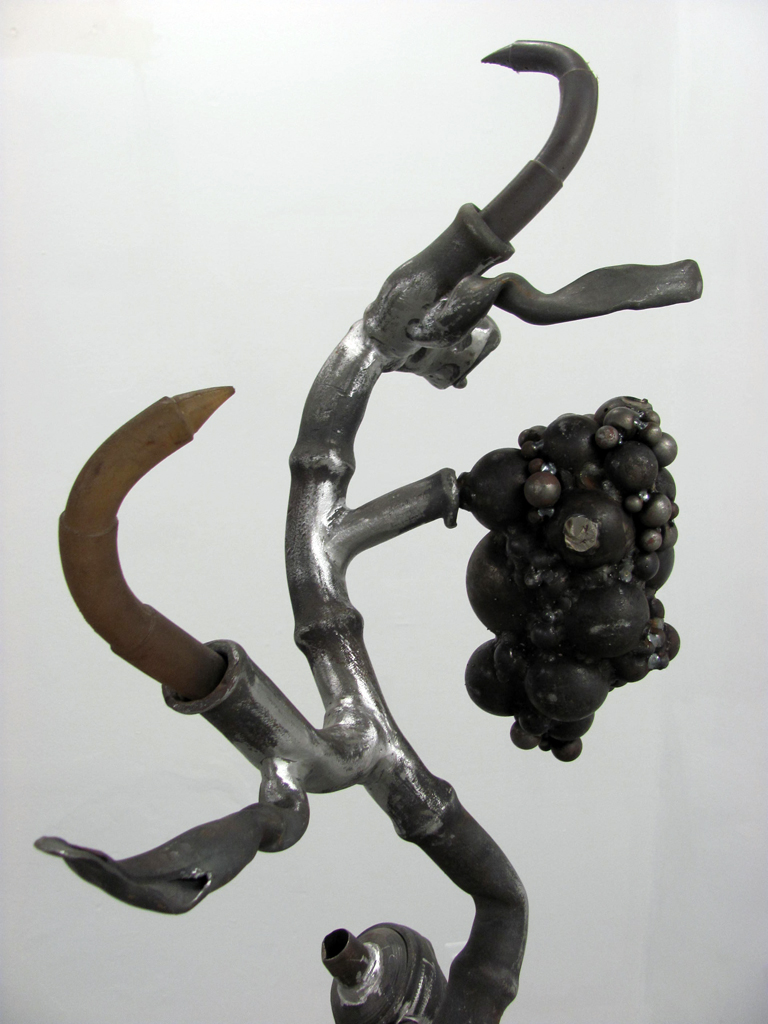
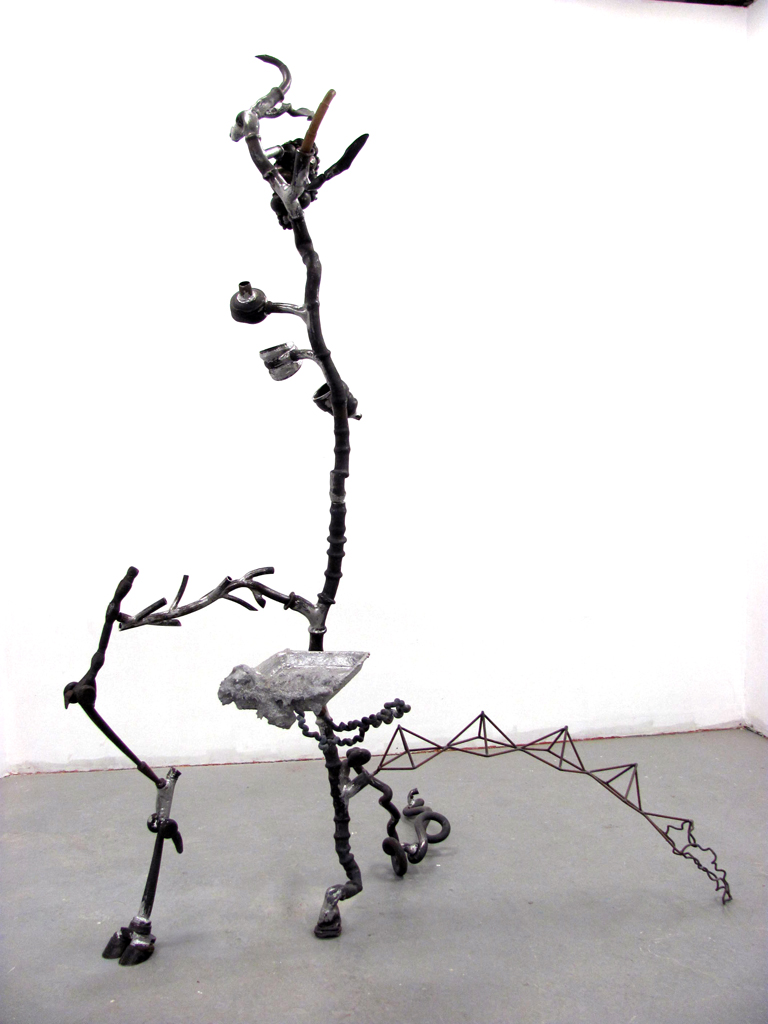
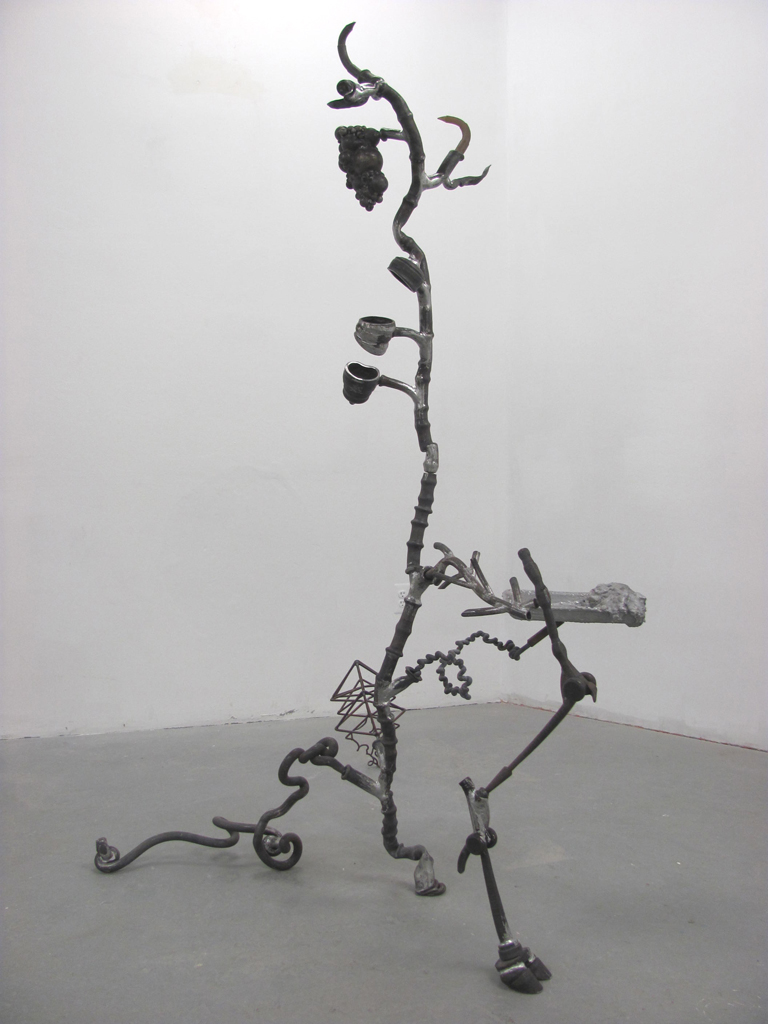
Here are some images of my newest sculpture, titled From hoof to tray.I’m working on grinding, filing, and sanding all the components so I can take it through the paint stage. This sculpture was particularly difficult to finish because it was fabricated in fits and starts, with many new elements added along the way. However, as I near the finish line, I couldn’t be happier with the results, and I am certain this piece will be a great capstone to my Color Codedseries.
After bending, thinking about the next step
Bending the main segment after heating
Using a rosebud tip to heat up the steel
Forging tubing components in the metalshop
Forging tubing components in the metalshop
Forging tubing components in the metalshop
Detail of pattern
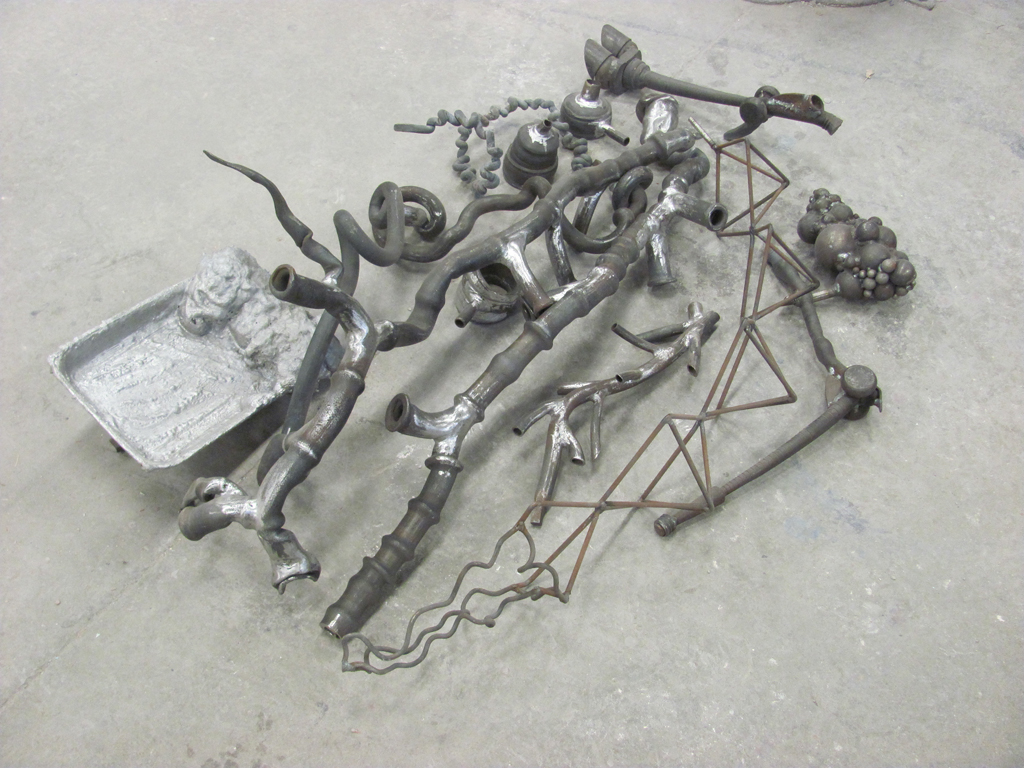
Aluminum casting pattern (styrofoam meat tray, spray foam, and wax)
Aluminum casting pattern (styrofoam meat tray, spray foam, and wax)
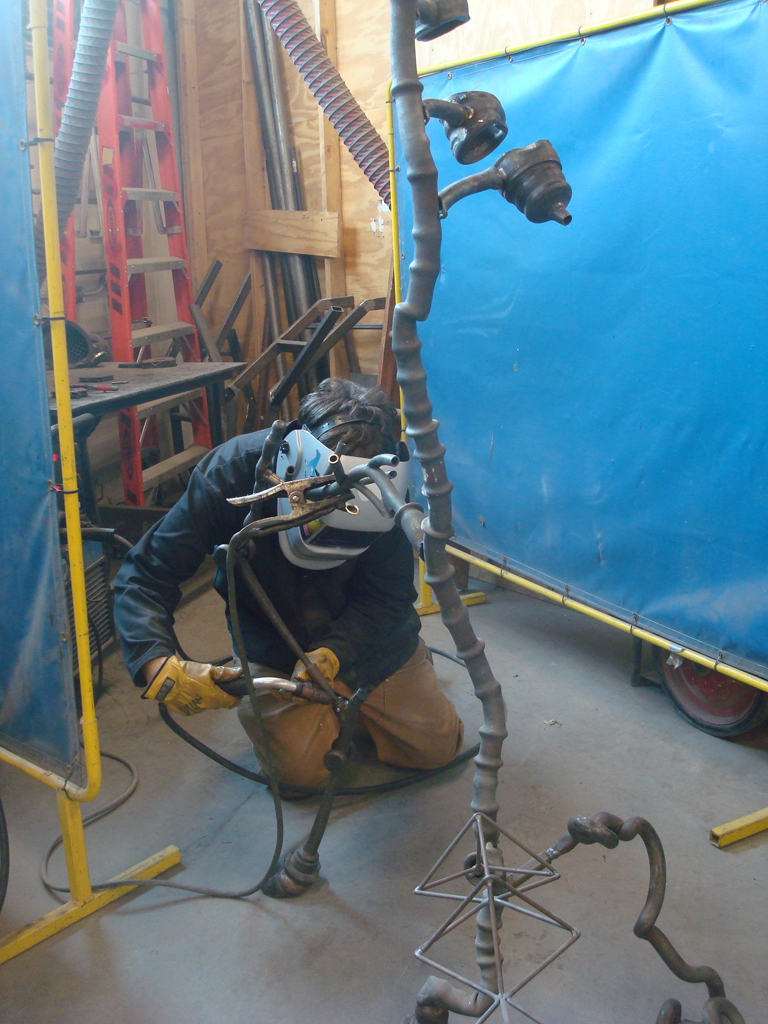
Finish welding on the leg component
Preparing to weld
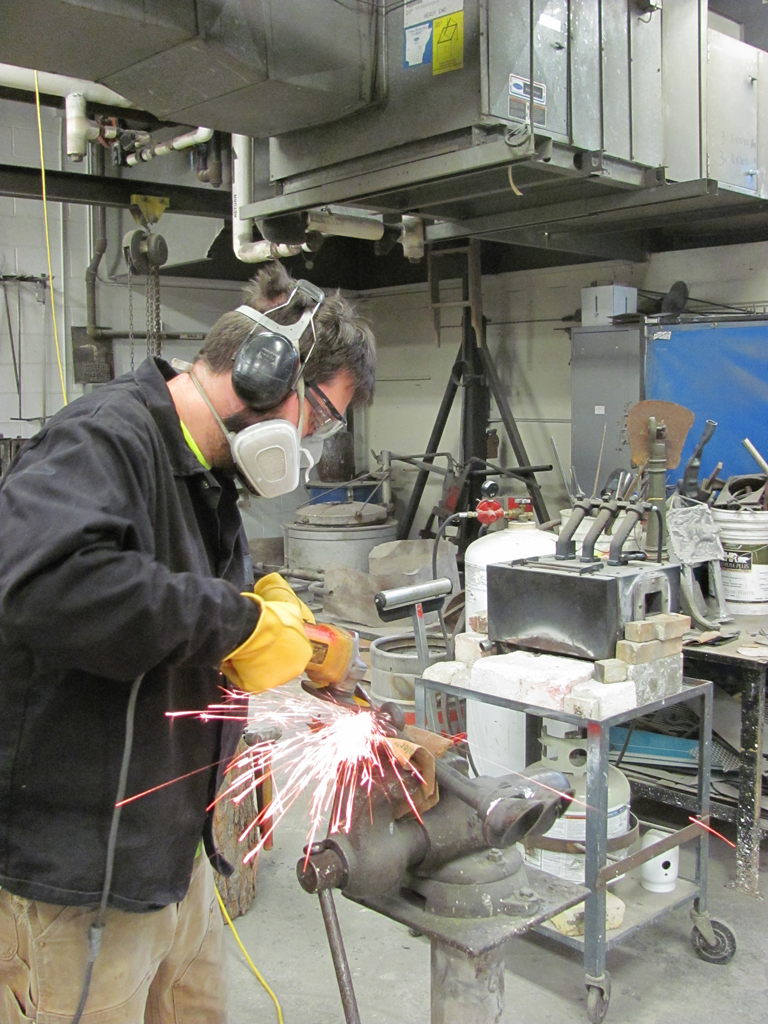
Using a die grinder for detail cleanup on the hoof component
Using an angle grinder to clean up the steel
Sculpture broken down into a manageable pile of parts
Me next to the sculpture to provide a sense of scale
Here is footage of the excellent bronze pour I conducted with my sculpture grads last Friday. For anyone unfamiliar with metal casting, here is some background on this process.
Bronze casting begins with artists creating a wax sculpture, also known as a pattern. The pattern is first encased in a mold made of plaster and sand mixed with water. Next, the mold is heated in a kiln for two days. This traditional method of bronze casting is known as “lost-wax casting”, because the original wax pattern melts out of the mold as it is heated, leaving a hollow cavity that will be filled with molten metal.
In preparation for the bronze pour, metal is melted in a furnace. As the metal is becoming molten, the hot molds are taken out of the kiln and placed in a sand pit near the furnace. Before casting metal, everyone dons protective gear to protect against the extreme heat. Teamwork is essential in a bronze pour, so once everyone is suited up, the team goes through a dry run of the procedure.
When it’s time for casting bronze, a crucible filled with molten metal is lifted out of the furnace with tongs. The crucible is then placed into a pouring device called a shank. Two team members operate the shank to pour metal into the molds, while another person uses a chain to raise and lower the device. After all the molds are poured, the crucible is placed back into the furnace. Once the molds have cooled off for a day, they are broken apart to reveal the castings and students grind, file, sand, and polish the bronze to create finished works of art.